The quest for marmalade perfection

Marmalade two ways

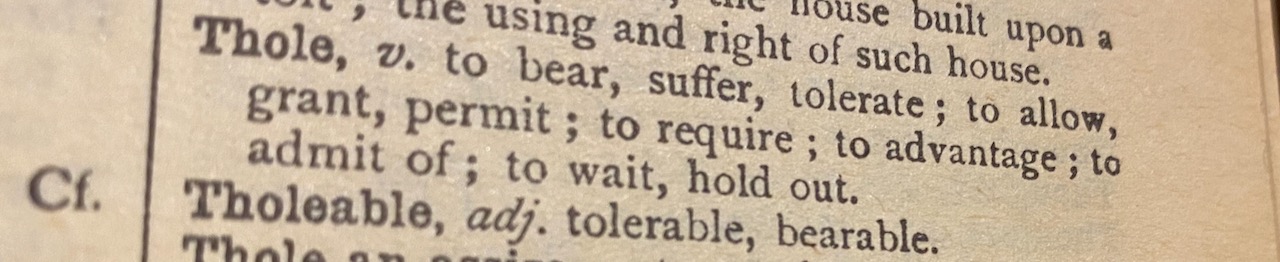
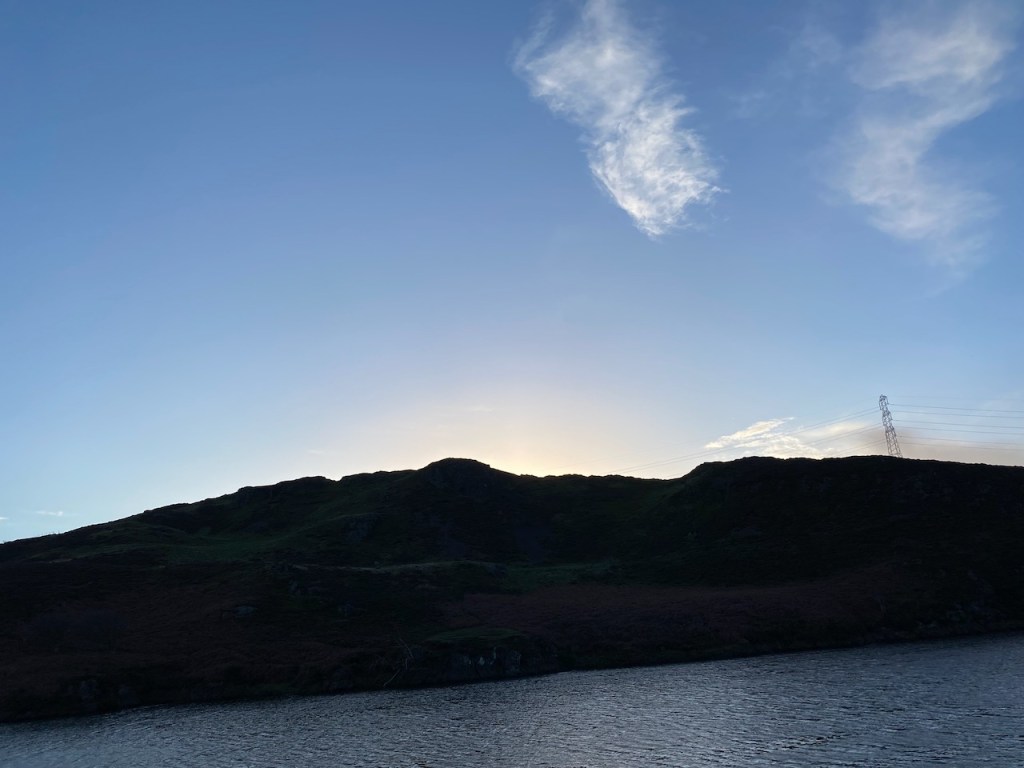
After the sparkle and joy of December, January can be a bit of a drag. Edinburgh is a lovely city but January is still winter and daylight is in short supply. Added to that, my self-imposed New Year quest for health improvement and renewal can, all told, make it a month to endure or thole * rather than relish.

Page from a dictionary showing the definition of Scots word thole meaning to bear or to suffer
Thole

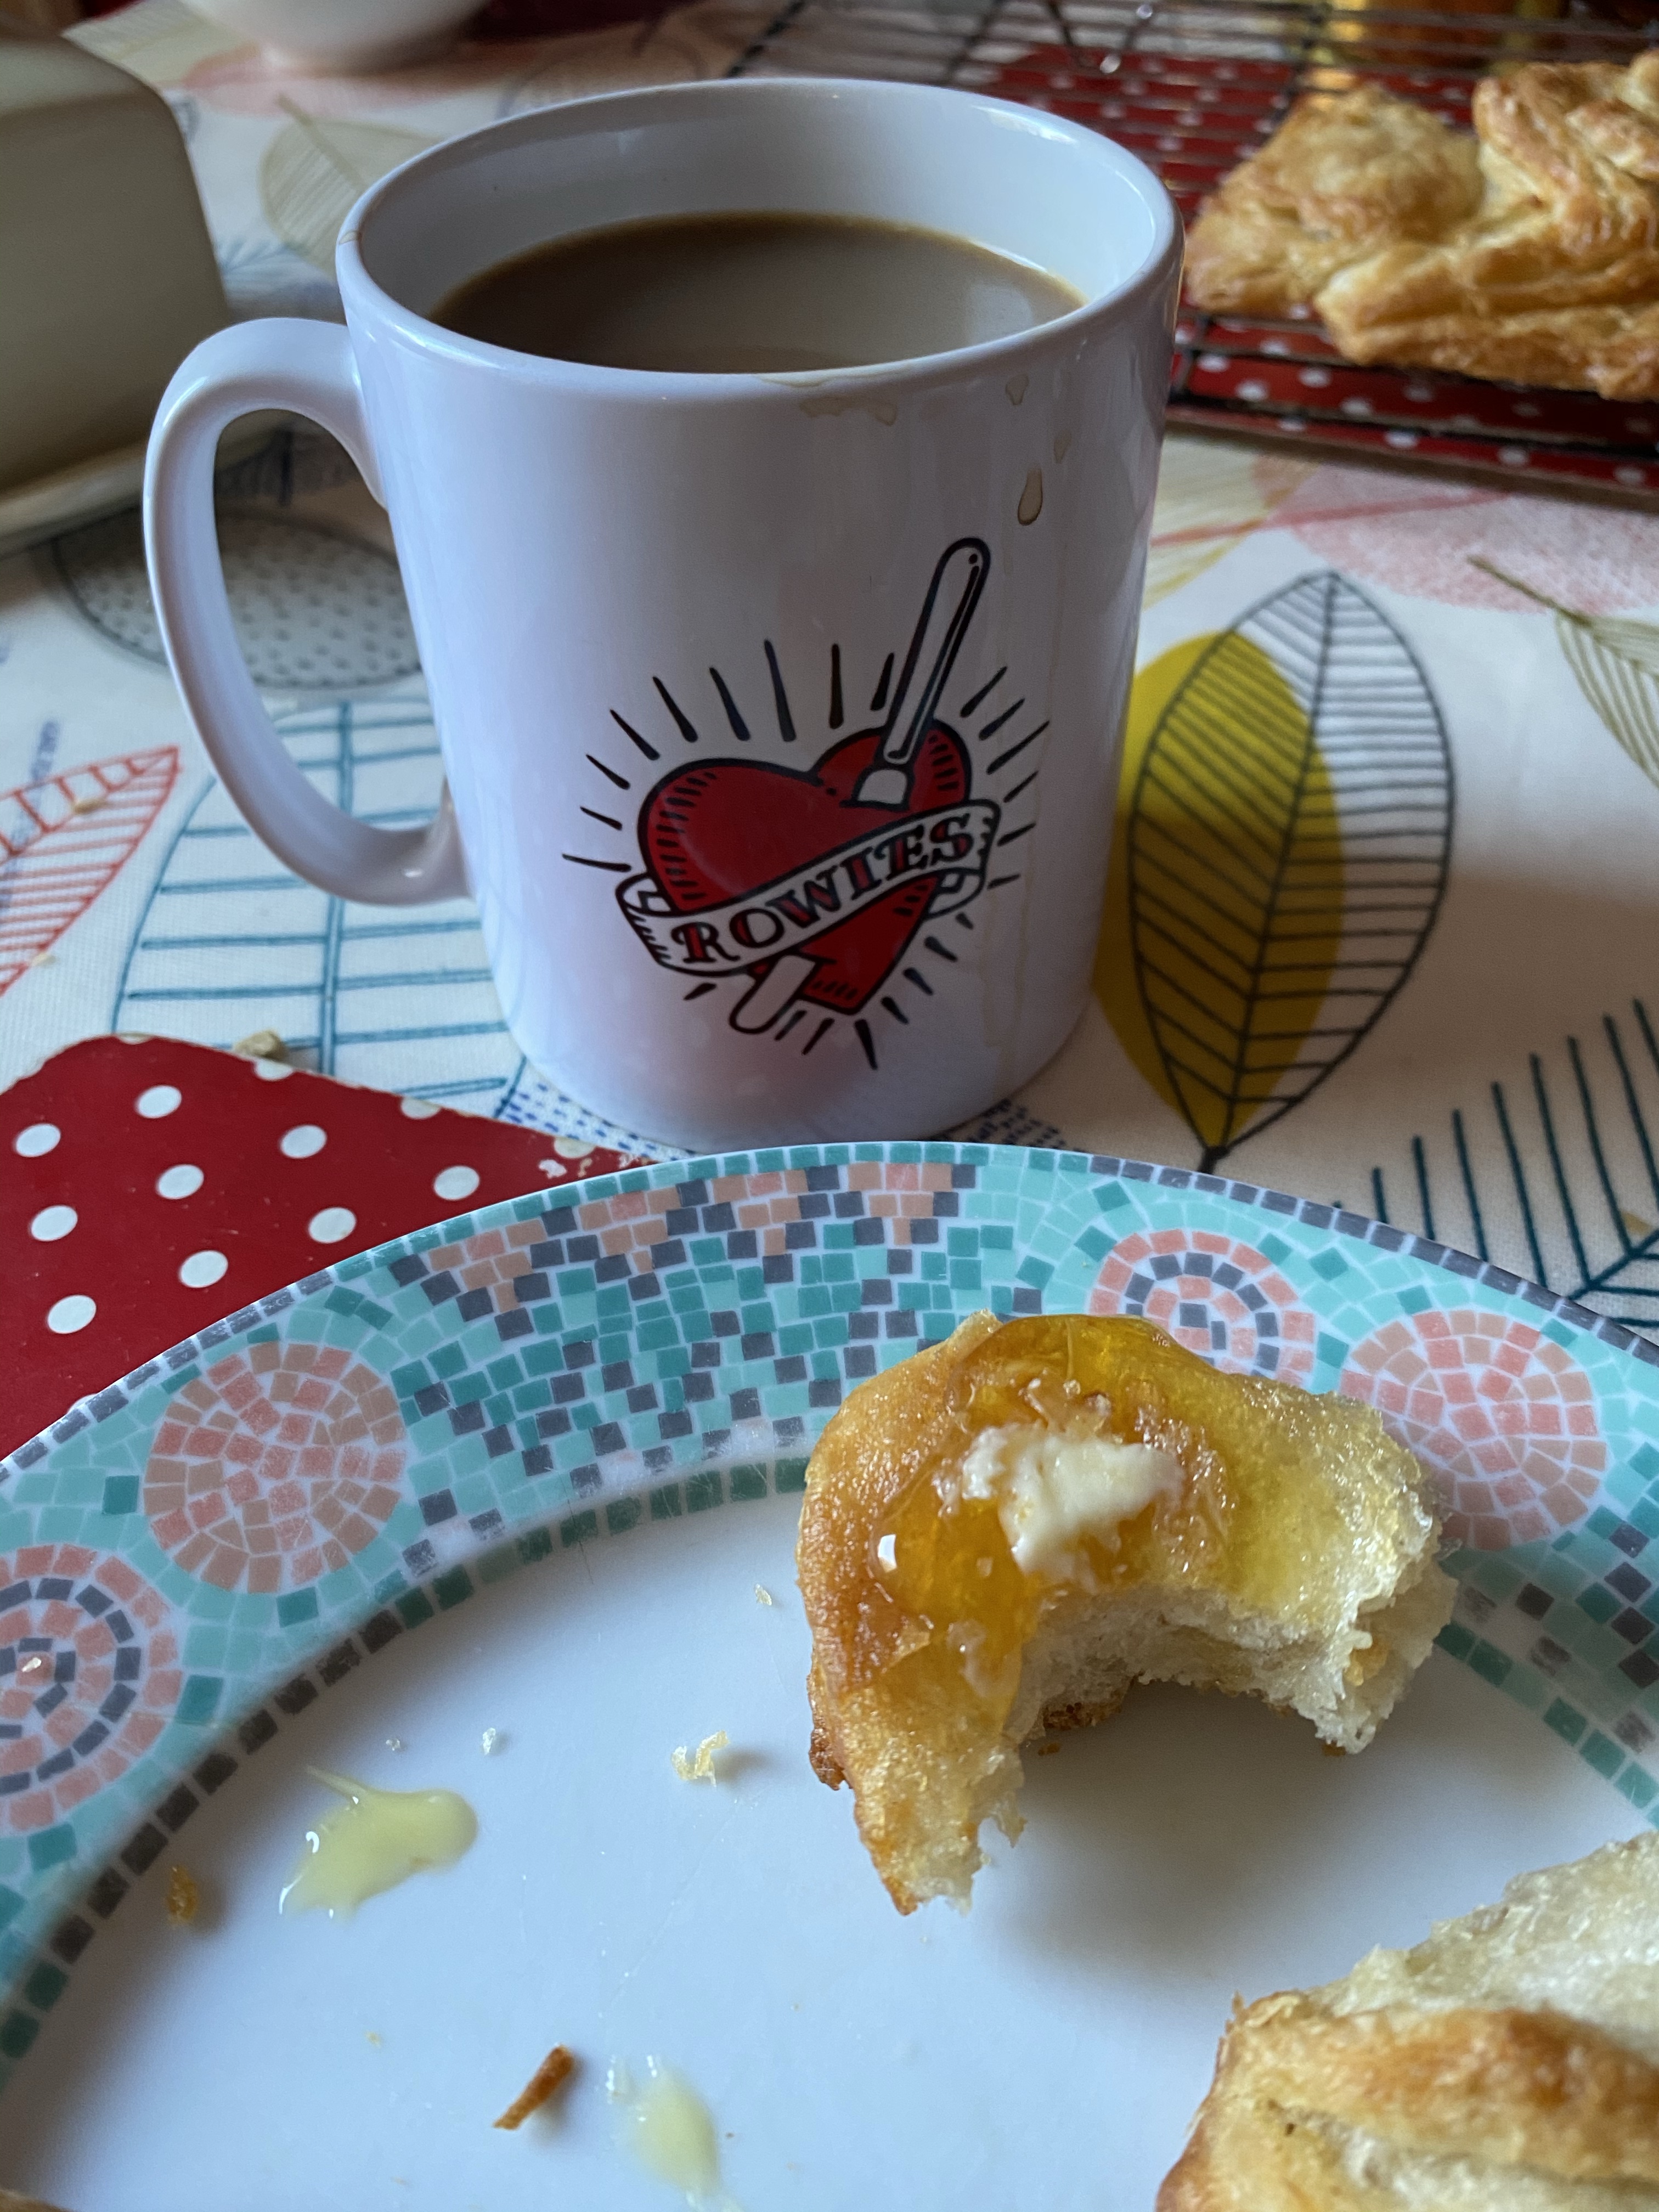
Enter marmalade making and its orange radiance to bring some sunshine.

January is traditionally marmalade month coinciding with the arrival from Spain of the bitter Seville oranges that make the best marmalade. You can make marmalade all year round using tins of pre-prepared fruit, or as I optimistically planned last year, by freezing the time-limited Seville oranges to use at a later date. But it’s the arrival of the fresh fruit from Spain into a grey January that really starts the buzz amongst marmalade aficionados.

When I first started marmalade making a few years back – my attempts could best be described as inconsistent. The end result usually tasted ok but often did not set ( marmalade sauce anyone ? ), and when it did set, the peel all stayed at the top and did not have the desired even peel distribution. So during Covid times, when others were mastering new languages or learning to crochet a blanket, I made it my mission to crack the marmalade code and achieve preserve perfection.


I bought several books on the subject (including unintentionally, one written in French), and a special thermometer to check for a set, and continued making marmalade and other jams with mixed results. Although the taste was usually good – it was hit or miss when it came to setting and achieving the right consistency still proved elusive.


Success only came when I was given some very useful advice from an expert preserves maker, Jaki at Perfectly Preserved. A conversation with Jaki via Instagram helped me to understand where I had been going wrong and she gave me some great advice.

A selection of recipe books stacked in a pile

Jaki helped me to understand the importance of watching the shape of the bubbles and how they change as the marmalade reaches the setting point. I would highly recommend following Jaki’s Instagram ( @perfectlypreserved ) for an easy-to-follow ‘how-to’ guide to making marmalade, or if you have no desire to make your own – her delicious marmalade and other tasty preserves including her amazing rhubarb are available to buy online here

Following these top tips, my marmalade started to look better and set nicely, and then later and again via an Instagram chum, I came across a marmalade master class by Vivien Lloyd. Vivien is another marmalade expert, her book First Preserves is an excellent guide with clear step-by-step instructions, and she has been a judge at the World Marmalade Awards so I was hoping for some insider knowledge.
At her zoom masterclass, she demonstrated her fail-safe approach to successfully making marmalade in small batches and was very generous in sharing her expertise, including for me busting the myth and mystery of testing for a set!

Testing for a set


Encouraged by my new found confidence in bubble recognition thanks to Jaki, and with Vivien’s top tips front of mind, I made a batch where the set was just right, the peel was evenly distributed AND it tasted delicious.

Encouraged by this – I thought I might enter the World Marmalade Awards and so in January 2022 – I parcelled up my chosen jar and posted it off to Dalemain in Cumbria more in hope than expectation.

Months passed and I had mostly forgotten about the competition- there is a long interval between submitting your entry and getting your result. I had seen lots of pictures of the judging earlier in the year but as I had heard nothing assumed I had been unsuccessful. Wind forward to June 2022 ( 5 months after my submission ) and I was surprised and delighted to receive a certificate in the post with a silver award. Yippee!

Limbering up – marmalade two ways

Encouraged by my success, I am contemplating entering the World Marmalade competition again this year, but feel more nervous – reckoning beginner’s luck won’t be repeated and as is my way – I am now overthinking my marmalade making.

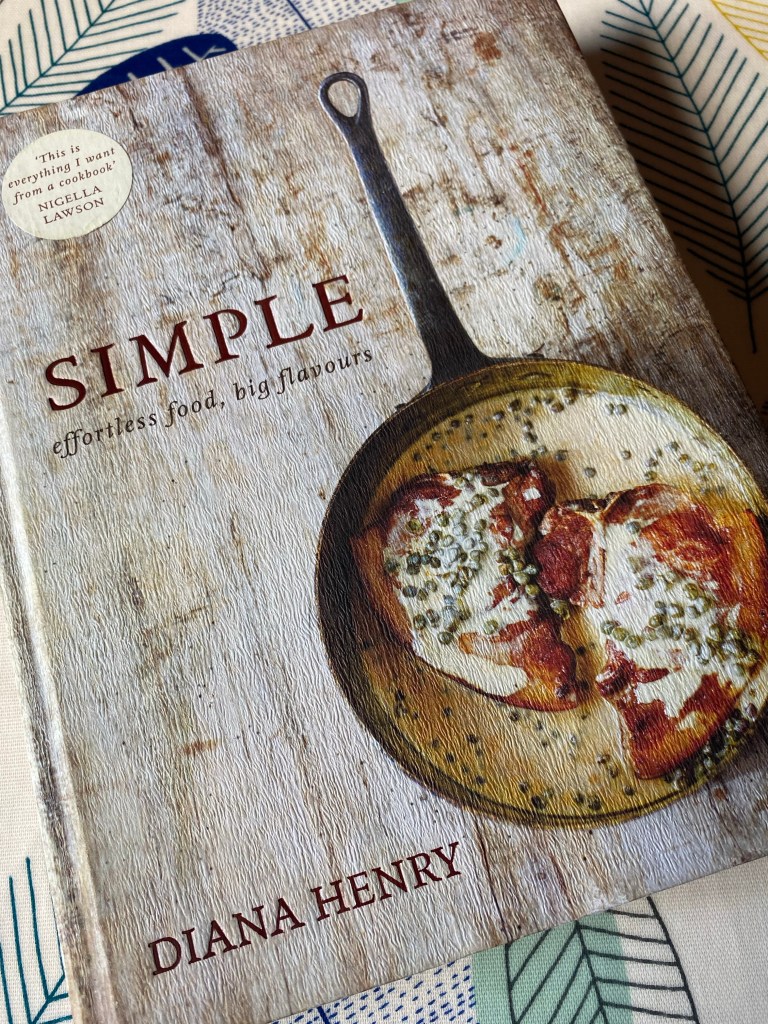
When I was in peak marmalade-making frenzy – and buying up Seville oranges beyond my needs – I froze some of them thinking I would make marmalade in the summer – or maybe a second attempt at making Diana Henry’s Seville orange tart, (a true Labour of love I had made once before with regular oranges). This time I could use the real McCoy.

As it turned out my summer was spent making a wedding cake for my daughter and as our stocks of marmalade were nowhere near depleted, the frozen Seville oranges rattled about in the freezer taking up space until the other day when it occurred to me I could use them to make a test batch of marmalade before attempting my entry for the awards.

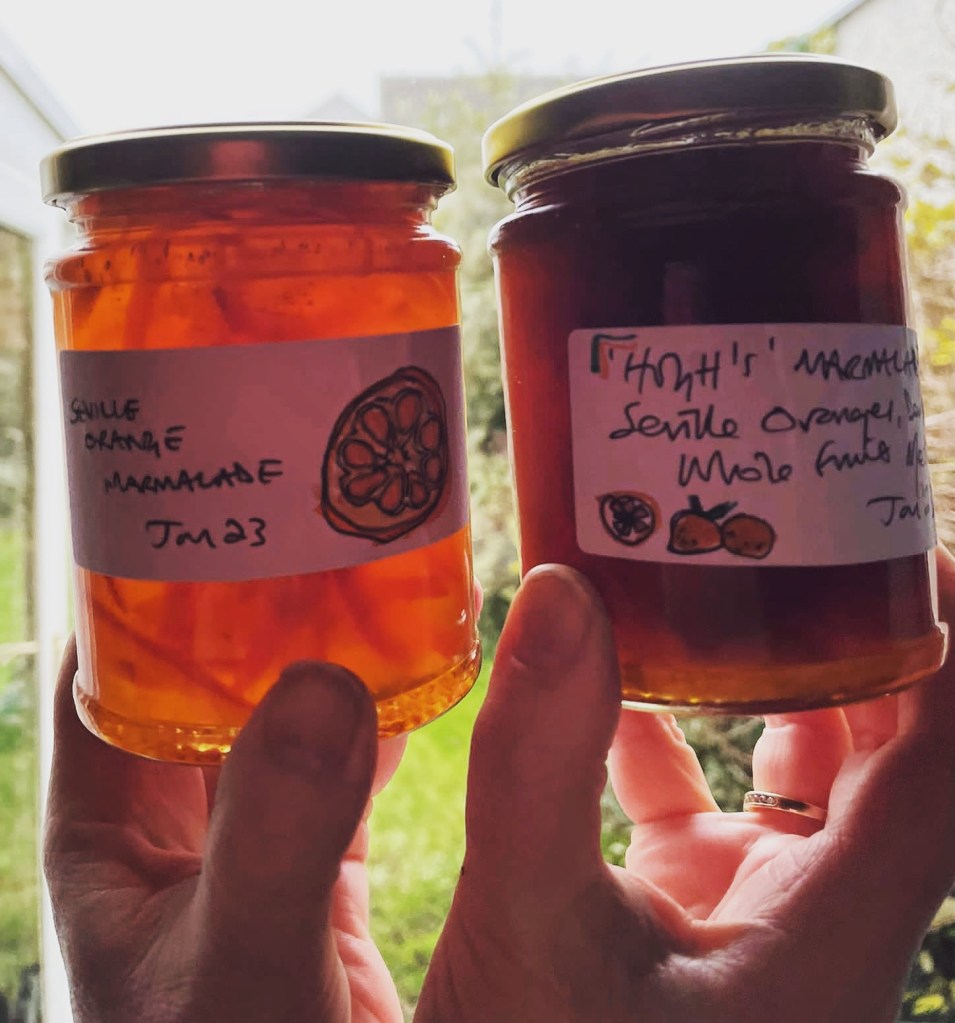
By way of limbering up my marmalade-making muscles – and using the aforementioned frozen Seville oranges, I made two different types of marmalade. The first I made following the whole fruit method and demerara sugar ( Hugh’s marmalade recipe from Pam the Jam ) and for the other, I broadly followed my previous year’s award-winning recipe where you juice the fruit, shred the peel, then soak it overnight before cooking the next day and using white cane sugar.

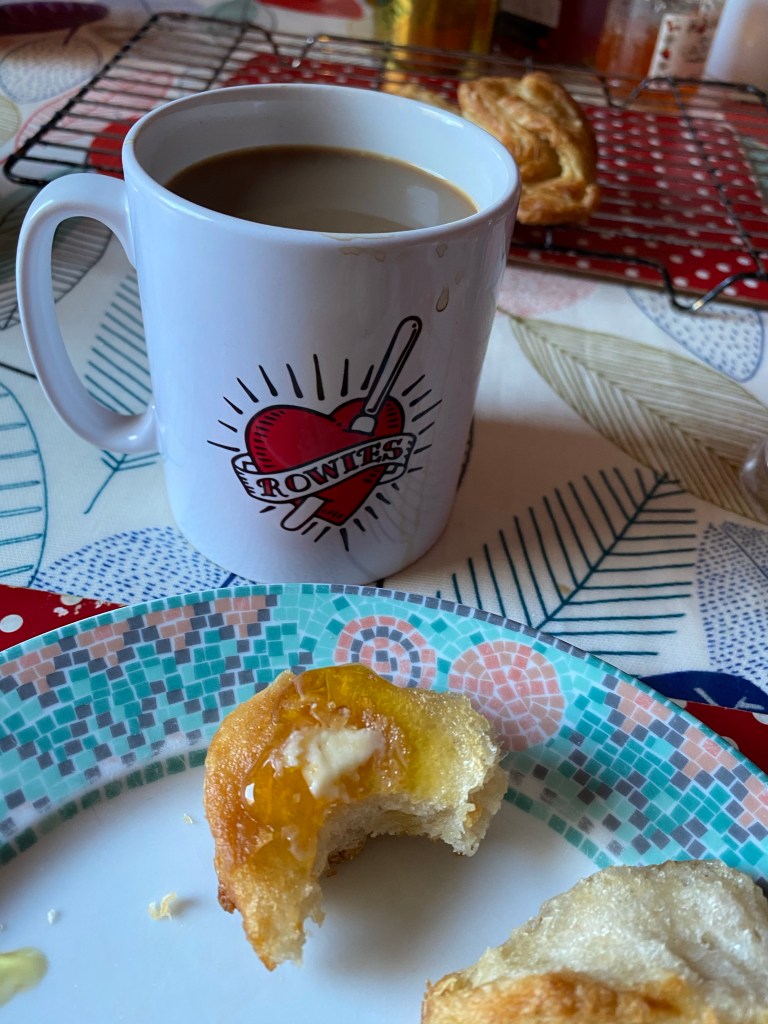
Both marmalades turned out very well but were quite different. The whole fruit recipe using demerara sugar and a thicker cut of peel is darker and has a more robust flavour. I think this is sometimes called Oxford style. In some ways, it is easier to make because the peel is softer to cut when cooked and the flavour is good, but I enjoy the meditative process of juicing fruit and slicing the peel before soaking overnight or longer.
Overall I prefer the marmalade made by the soaking method – it is fresher and has a more lemony taste which is more to my liking and I think it looks prettier.


Using the frozen Seville oranges did not make much difference to the recipe I followed. I read afterwards that freezing can reduce the level of pectin and more fruit or lemon juice should be added to help achieve a set – but I did not change anything.

I noticed that with the frozen fruit – the peel took a bit longer to soften using the whole fruit method and the peel was not as bouncy when I was cutting the peel for those I made using the overnight soak-and the end result was fine.

I don’t think either of these test batches is good enough to enter the competition, but making them was a useful trial run before I attempt my ( fingers crossed ) award-winning entry.


On doing new things

This weekend I made a Tik Tok and drank a Negroni and both of these were firsts for me, or strictly speaking the Negroni was a first time enjoying a properly made Negroni at home – surprised it has taken me so long to embrace this cocktail du jour.

These accidental firsts are not part of an active quest to do new things or me ticking off a bucket list, more a reflection of my butterfly mind and a preference to hop, skip, and jump to the new to avoid doing all the boring old stuff I need to deal with.

Wind back to a couple of weeks ago when the sun was shining in Edinburgh & inspired more by optimism than the reality I bought a couple of cute tins of ready-made Negroni – thinking to enjoy these outdoors as a pre fish supper aperitif. This story has, as many weather dependent stories do in Scotland, a rather muted conclusion when the clouds rolled in from the hills and the appeal of drinking or dining Alfresco evaporated.

Blossom watching at the Meadows

Against the plummeting temperatures and grey skies,the tiny cute tin of Negroni was a ray of sunshine- the contents were delicious straight up and made a refreshing long drink with sparkling water added.

Pocket Negroni

So this weekend with research made on the perfect serve ( Stanley Tucci food memoir – Taste My Life Through Food page 9 ) – and ingredients purchased, my husband was appointed barman /mixologist. He created a splendid Negroni even if we had a bit of an exchange of views over some of the finer details around the correct glass to use and whether it was over ice or without.

I am so late to the party on the Negroni front and is odd to have missed out on this joyous experience for so long – what was I thinking? Maybe I missed the cocktail memo or I was washing my hair or just not paying attention. Regardless of the reasons for the oversight I am now happy to raise a glass to this wonderful late discovery. ( and as a note of caution to myself and any new to this delicious cocktail – Negronis are deceptively strong ) 🥴

Cheers !

Cheers

So to the Tik Tok – my daughter was home & so on hand to provide instruction and a steady hand for filming. Dinner was to be lamb with peas, onions and vermouth, a Diana Henry recipe from her book Simple (another first, trying this recipe) and I thought it a good subject for Tik Tok.

Leg of roast lamb with peas and onions
Lamb with peas, vermouth, and onions

Now and again I make amateur recordings of the food I am cooking and post these on Instagram stories. My filming style might be generously described as ‘unpolished’ and the finished output depends on various factors including – how behind schedule I am, how many glasses of wine the cook has enjoyed ( I do channel my inner Keith Floyd ), and whether I am making the recipe for the first time. Readers – do remember to read the recipe all the way through.

Diana Henry – cookery book

I have no specialist kit to speak of other than my phone and my husband is usually watching football so it’s usually a lone effort,without tripods or flattering lighting. I tend to film in between cooking & often miss lots of steps, and navigating the fine line between verisimilitude and burning dinner is quite the balancing act.


The end result is rarely a ‘how to’ guide, more a cook along and sharing.

My daughter Ellen who is almost a millennial and naturally a digital native, is at ease with phone technology, but more than that she has a really good eye for photography and infinite patience when working with her dear old Mum.

Ellen was both art director and videographer for Tik Tok number 1 – but she did give me small tasks to complete unaided – like choosing the music and cooking the lamb.

For a first attempt using some of the easier Tik Tok functions and effects,I was quite pleased with the finished film and it may have opened up a whole new set of distractions for me from the eternal unfinished ‘to do’ list.

The finished film is here👇

Tik Tok

Move over sourdough,there’s a new kid in town.

Rowie, syrup, coffee

Lockdown has brought out the baker in many of us. In the first, hopeful March lockdown banana bread was the cake of the moment.

Then came sourdough – with many sharing homely snaps of their nurturing starters and stylish crust art.

I am fond of banana bread and did make my favourite recipe a couple of times ( Nigel Slater Kitchen Diaries 2 – dark muscovado & chocolate), but when it comes to sourdough – it’s a big fat NO from me.

I respect those who are evangelical about the yeast free bread’s qualities and I have made sourdough in the past – with varying degrees of success – but I can’t say it was a joyful experience.

The starter palaver and multiple cosseting stages was a bit too ‘needy’ for me 😉and as much fun as following flatpack instructions.

And I have never found that the reward is worth the effort, but I appreciate I may be in the minority with this thinking.

While sourdough perfection is not my thing, I am not immune to a lockdown project and this weekend I decided to try and make Aberdeen rowies .

For those who may not be familiar with the Aberdeen rowie or buttery, it might be unkindly described as a leaden croissant, but not by those of us in thrall to its crispy, fatty, salty loveliness. For those of us who have sampled the aptly named buttery, it is a thing of joy unmatched. They are a sublime taste sensation or as film director Duncan Jones once described them ‘evil bricks of tasty’ .

Frosty scene

The rowie / buttery/roll (names vary), has the same flaky, buttery taste of a croissant but with more substance and heft and has a salty flavour . The saltiness means it is delicious served warm with even more butter and golden syrup – or it provides the perfect vehicle for jam or marmalade.

It is a true regional delicacy – and aficionados from the the North East of Scotland whether shire or toon agree it is a baked good of the highest quality and one that is hard to beat. Even if they debate fiercely whether it should be called a buttery, a rowie or a roll.

Whatever name you prefer, the Aberdeen roll gets its golden buttery taste by the addition of generous quantities of fat – the purists say 100% lard – but the recipe I opted for was a 50/50 mix of lard and butter.

To get the flaky texture involves a process similar to that used when making croissants or puff pastry – folding and rolling the fat into the dough several times to achieve lamination.

The fat is distributed and trapped between layers of dough and when heated by some alchemy or magic it creates the flaky texture.

I had read lots of guides on how to do this, and diagrams a plenty, but I only fully understood the method by watching a demo and attempting it with guidance, when I attended a one day bread and croissant making course a few years ago.

Back to my own rowie experiment. I was mostly following a recipe from the newspaper clipping below and testing my weights and measures skills to convert ounces to grams & work out the right ratio of fast acting yeast instead of bakers yeast.I reduced the quantity of yeast from 30 g to 11 g of fast acting yeast.

The recipe is quite straightforward & probably the hardest part is whipping the lard / butter combo to the correct consistency.

The initial dough is made with strong flour, salt, sugar, yeast and water.

Dough before proving

The recipe did not suggest kneading at this first stage but I did give the very sticky dough a short knead before leaving it to prove covered in a bowl with a damp tea towel for about an hour. The dough should double in size.

In the meantime – I creamed the lard and butter together – I did this by hand but reckon it could be done with a food mixer. It has to be creamed up a really soft spreadable consistency.

You then divide the lardy/ buttery mixture into 3 and roll out the risen dough to a rectangle shape 4 inches wide and an inch thick.

Lardy/ butter mixture divided into 3

The first third of fat is added – by dabbing small dots of fat to the dough then folded over . I did go a bit free range here because the instructions were to treat as for pastry so I may have rolled and folded more than intended.

You do this process 3 times until all the fat is used up chilling the dough each time.

I put the dough in the fridge for about 10 minutes between each butter and folding session then subsequently discovered in another recipe that this should be 30 minutes, but as is the way with real life – I was doing this while also wanting to do other stuff – ( get out for a walk before dark ) so I did not chill it for 30 minutes.

I then divided the dough into 14 pieces – I cut them and made a token attempt to shape them but they were quite square and not very rowie like. I think this is the bit I would do differently next time.

Cut into rolls before final prove

I left the rolls to prove for a further 30 minutes and they do rise a bit more – then I put them into a hot oven ( 200 C ). I added some boiling water to a tray below to create steam – no idea if this makes a difference but in other bread making it can help make a crust.

They take between 20-25 minutes to cook and should be nicely browned. When you take them out, there is what looks like an alarming amount of fat in the tray, so I took them out and let them cool on a wire tray with kitchen roll beneath to absorb the fat.

As a first attempt I was quite pleased although many of them did look more like square edge croissants than Rowies – so maybe I have invented an Auld alliance breakfast delight – the Crowie !

Next time I would tear the dough at the final stage and make them smaller – maybe even flatten them before the final prove. I thought only a few had the distinctive flat fatty brick appearance of a rowie.

Side section

The proof of the pudding being in the eating – they tasted like an Aberdeen roll, had a great texture and were both crispy and just salty enough.

My Aberdonian husband pronounced them a success and my mother in law was impressed by my effort so that’s good enough for me.